How To Paint Your Interior Doors…The Easy Way (And My New Column!)
When my friend Alexa painted her upstairs doors black I couldn’t believe how pretty it was. What a dramatic change!
I couldn’t wait to do the same in my own house. I was happy to find out that painting an interior door is an easy project that can be completed in a weekend no problem.
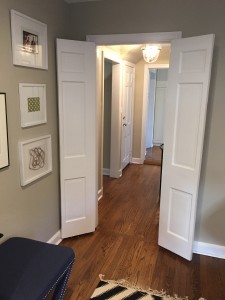
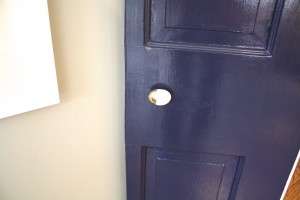
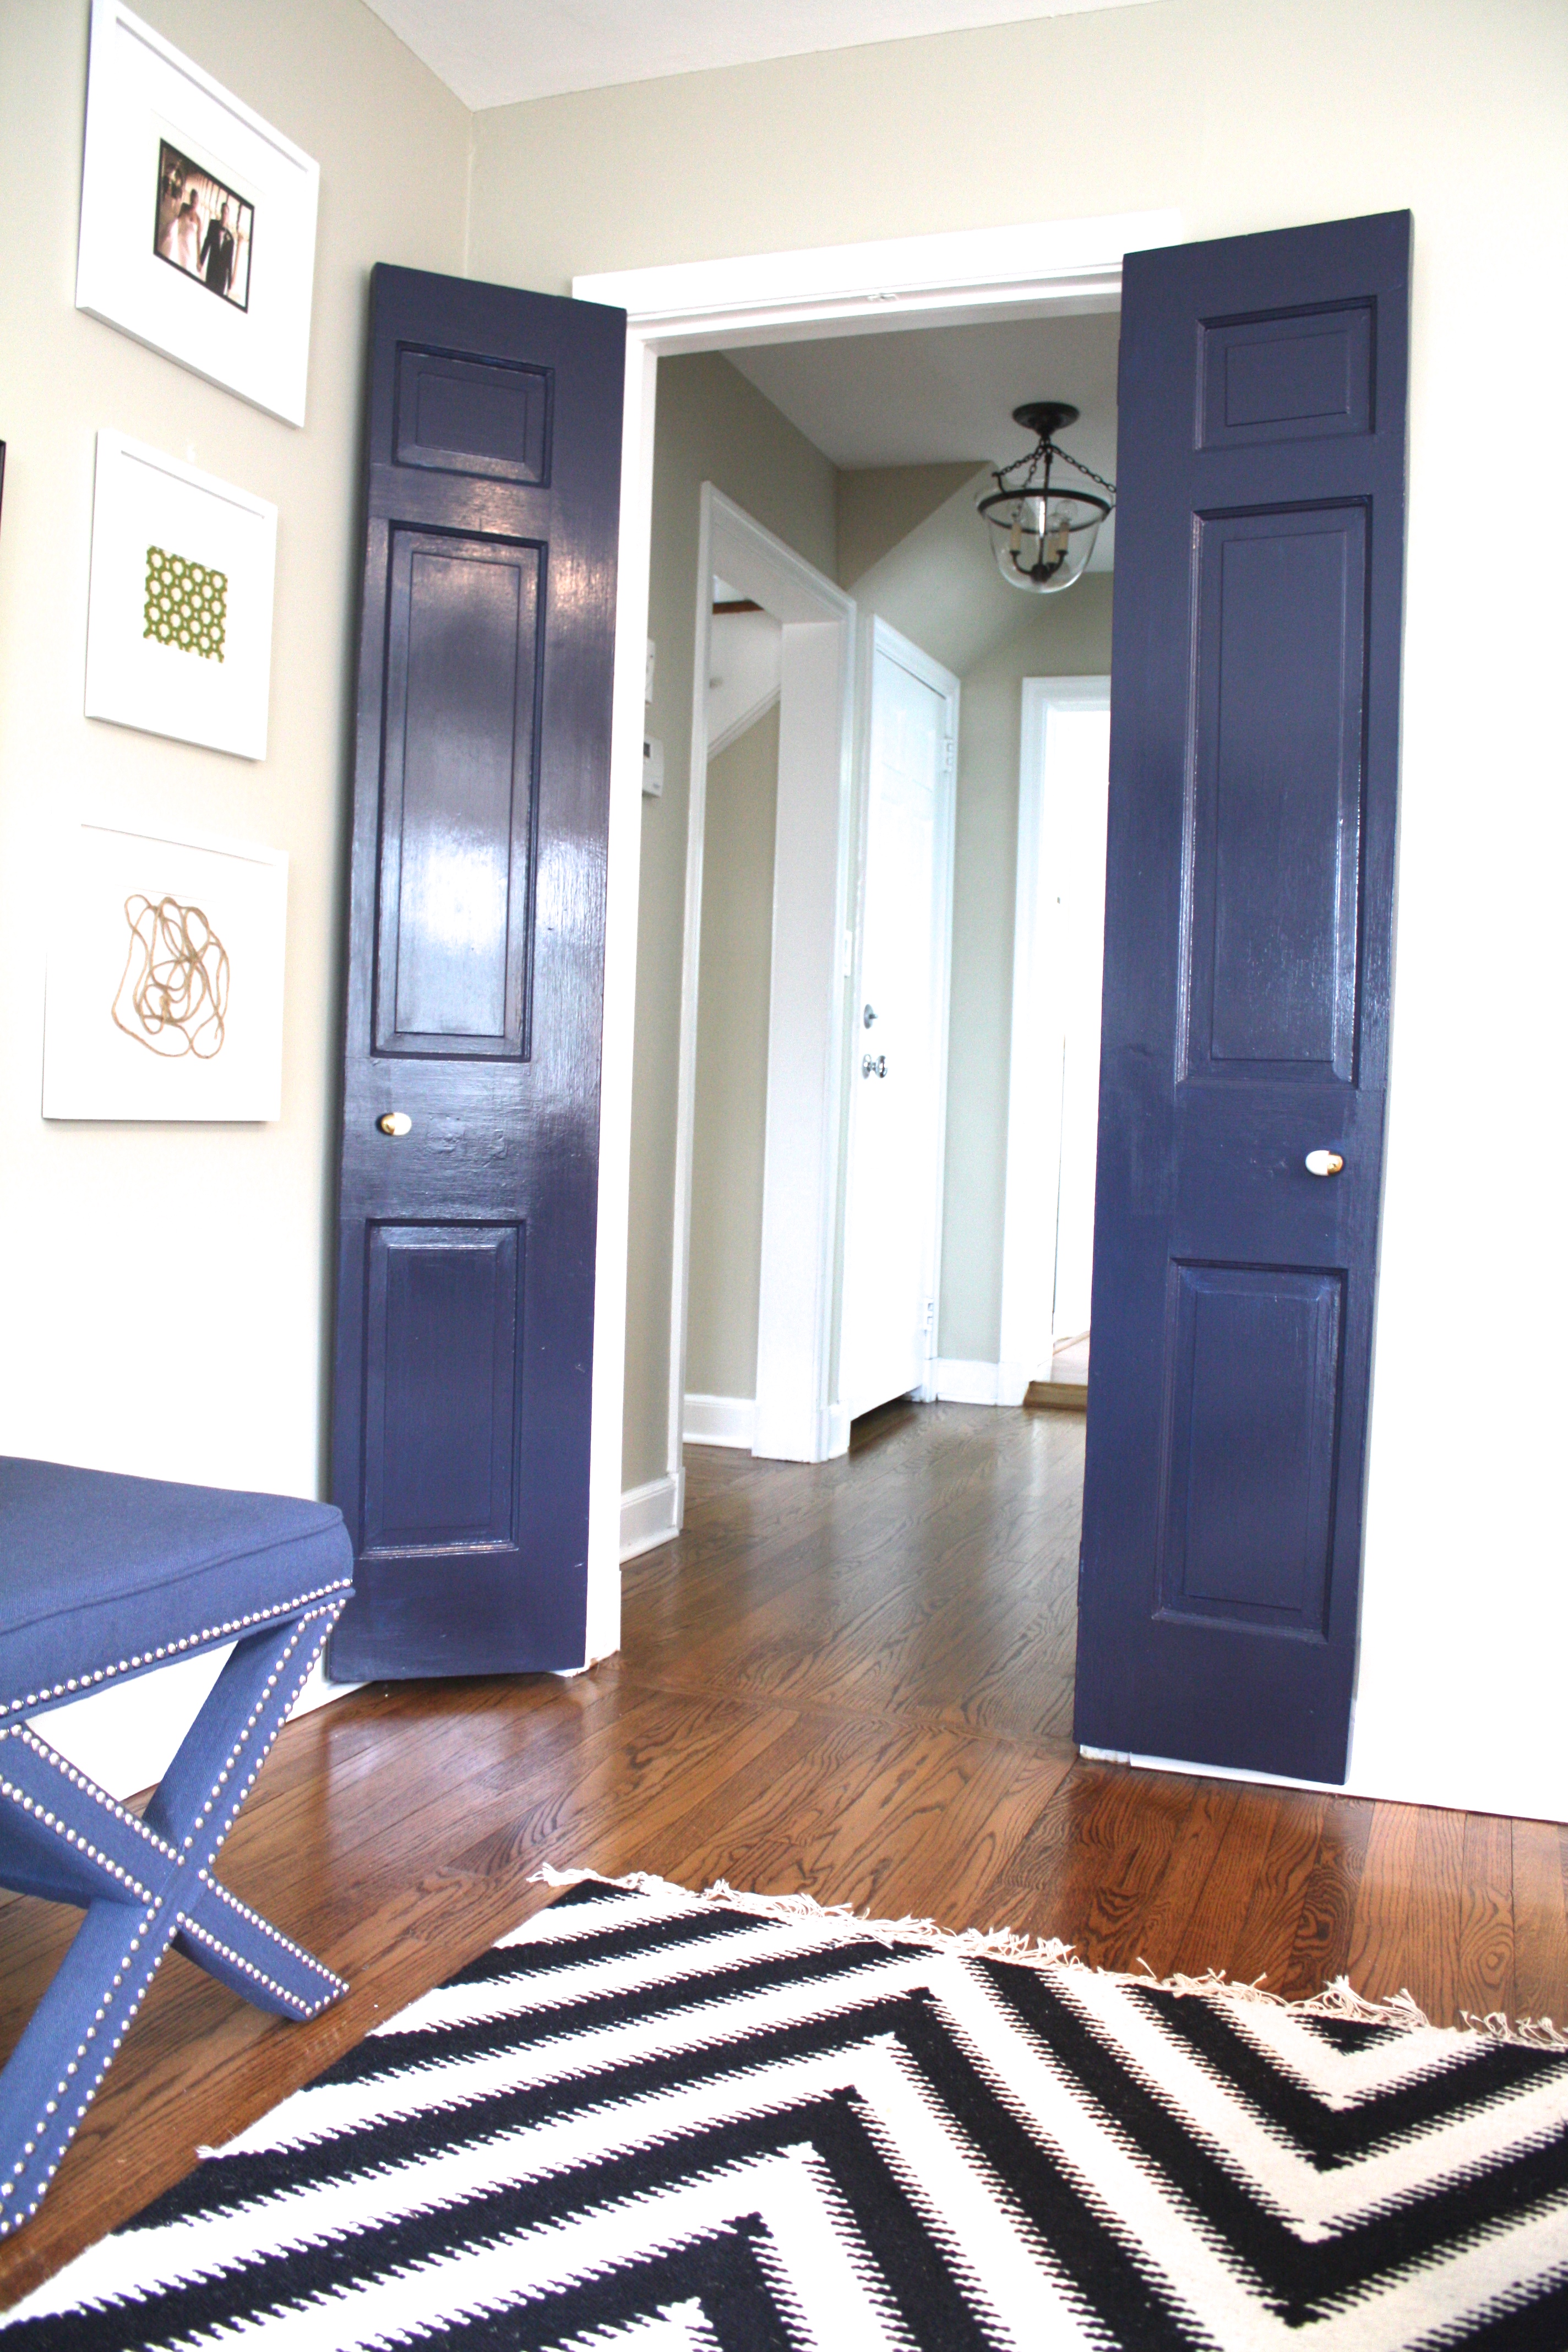
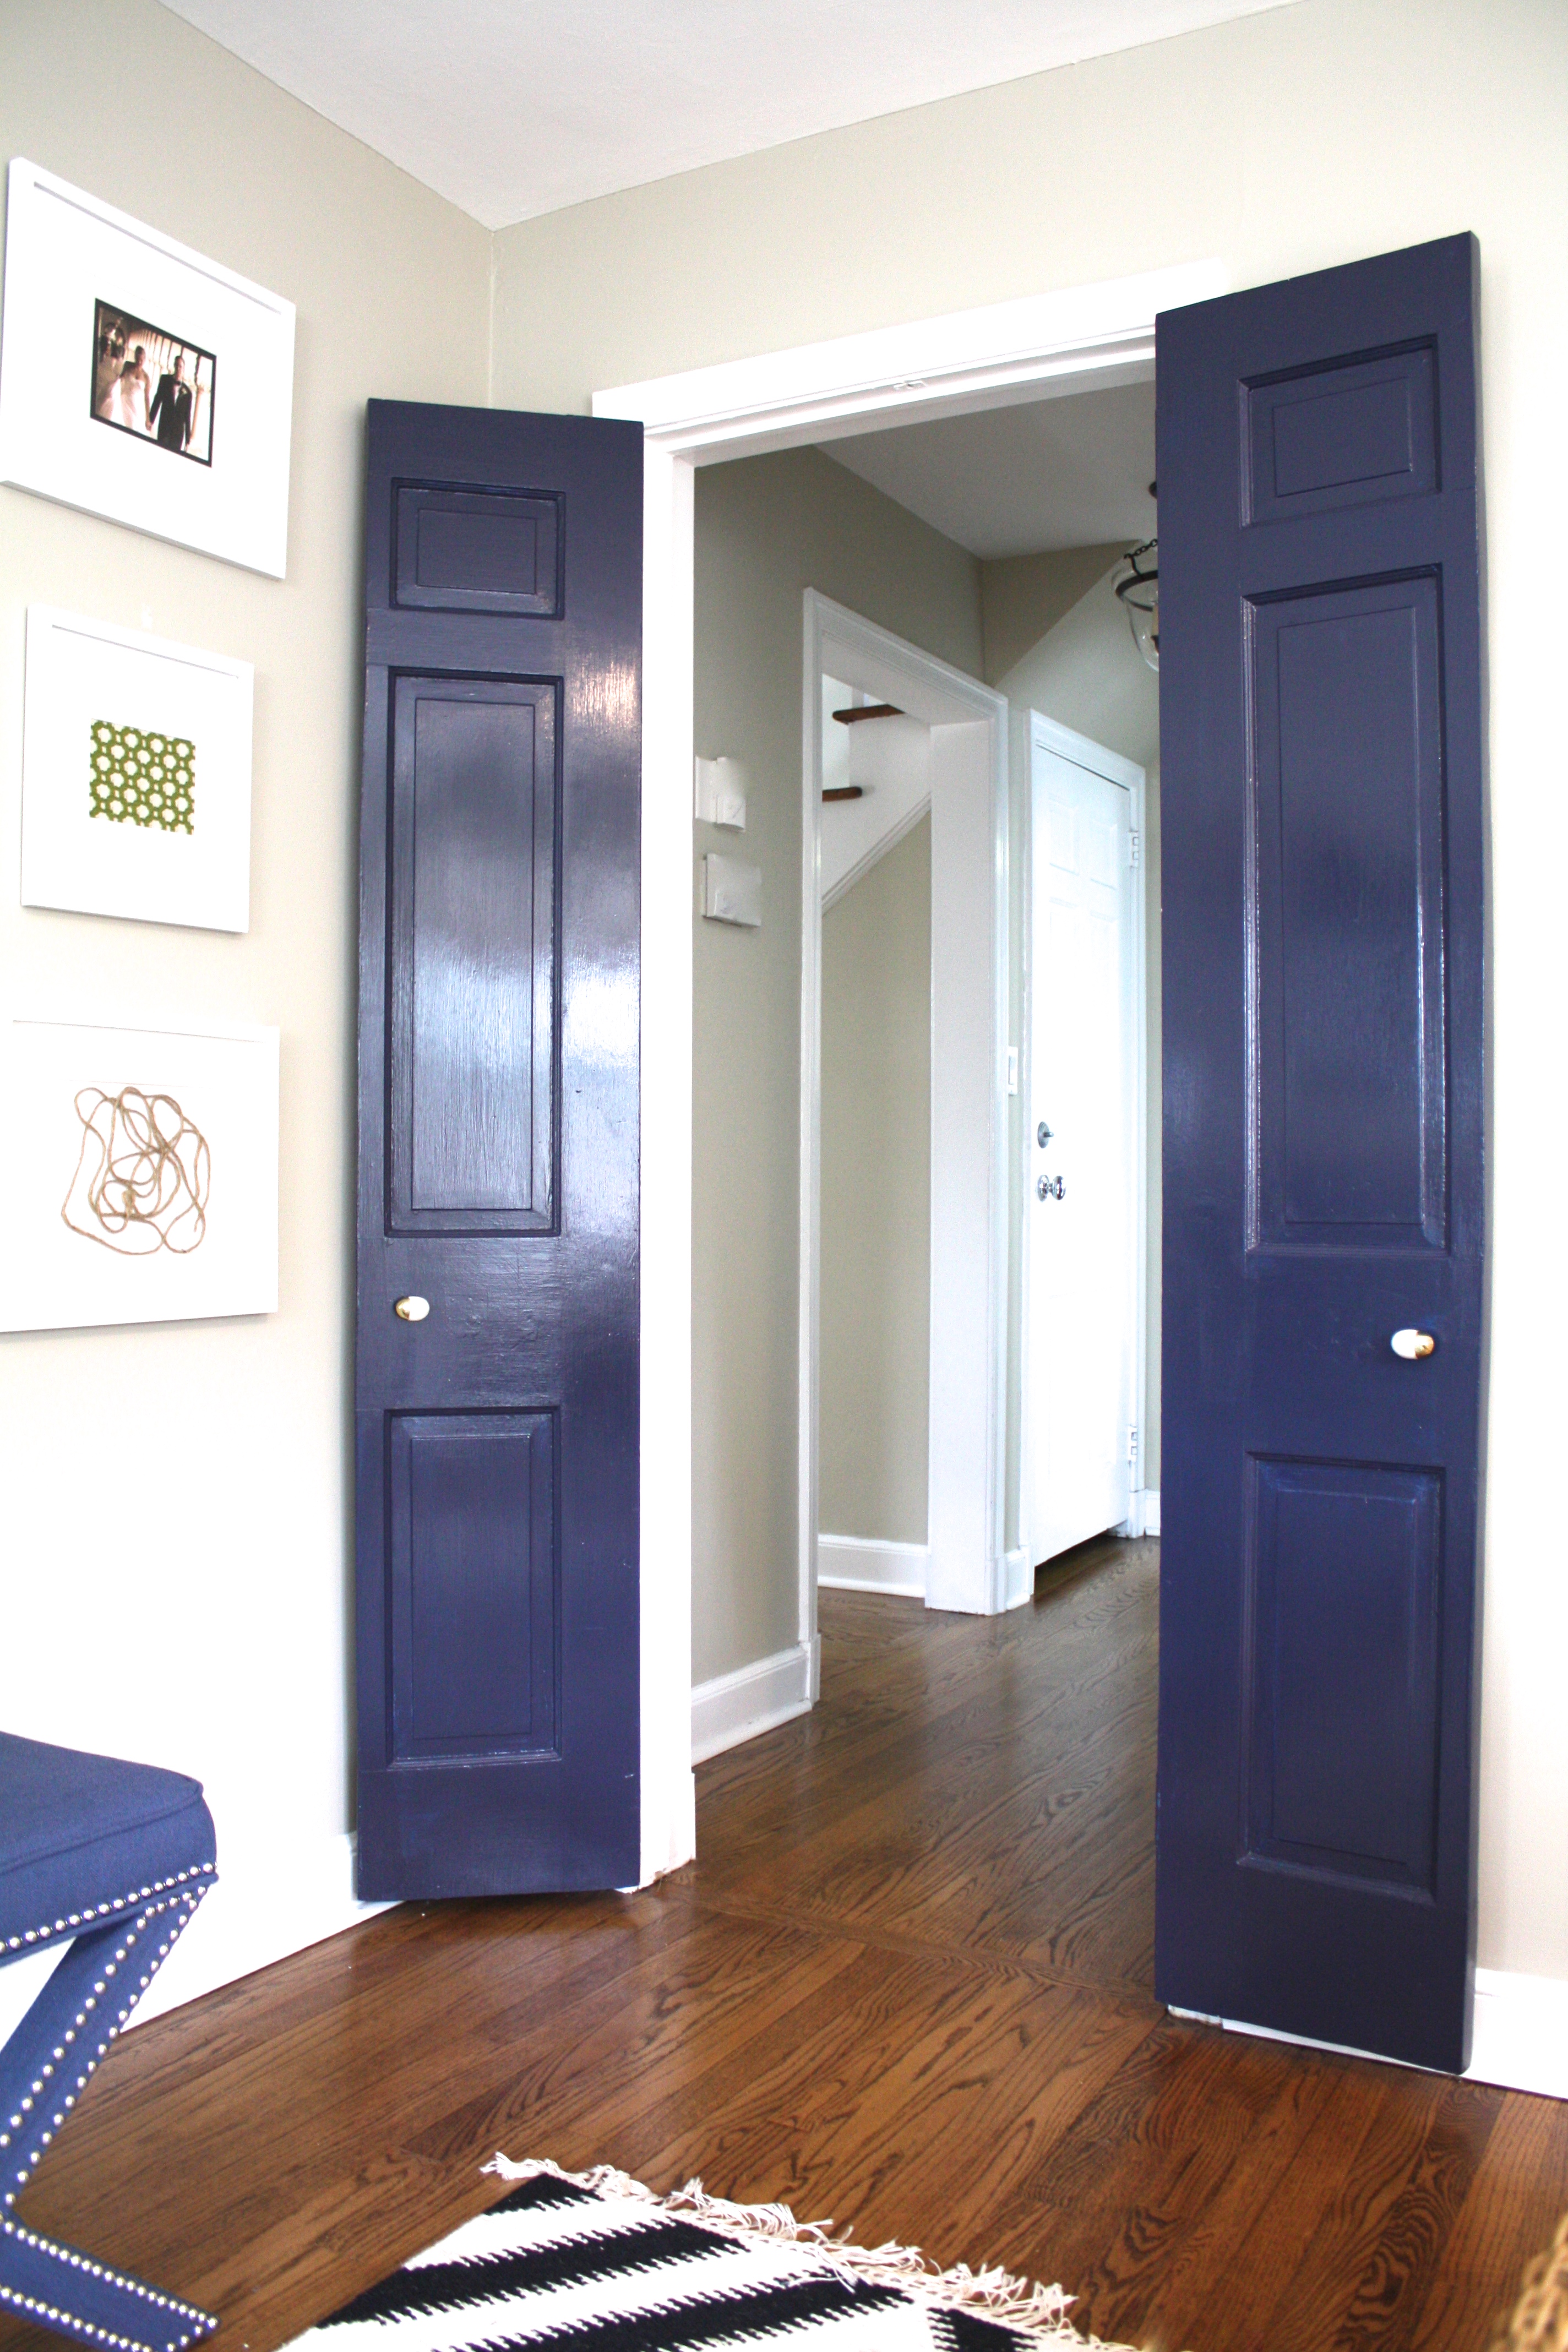
Here are two doors that lead into our family room. The Before:

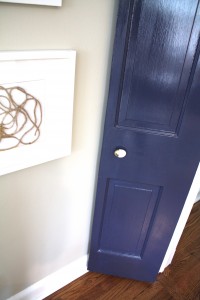
And the After:
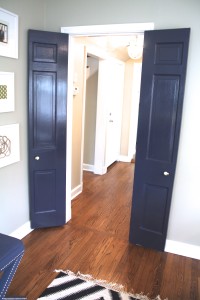
Painting interior doors – so worth it!
This took me two days, but in total only a few hours (I squeezed in painting during nap time and after the kids’ bedtime. And I had to pause between coats to let everything dry).
I learned a few lessons from this process and I’d love to share. Okay, ready? Here’s PART ONE of my step-by-step tutorial: “how to paint your interior door…the easy way”. (I’ll post Part 2 next week!).
The Prep.
1) Remove Grime.
Make sure your doors are free of grime and fingerprints. I just wiped mine down with a damp cloth (but I read that you should use something more “serious” if you have gunk on your doors). Let those dry for a minute.
2) Remove the hardware.
3) DON’T Sand the Doors!
I didn’t sand my doors. But as an official “tutotial giver”, I guess I should tell you that you probably should sand. Ugh. So annoying, let’s just paint already!
But, just in case you are more meticulous than I am, my opinion is that the best sand paper for sanding a standard, wood, painted door is 151 grade. The sand paper is fine and not coarse. Just purchase a few sheets at the hardware store and use them in your hand; don’t worry about an electric sander or a sand block. You can lightly go over any old paint drips or imperfections to make everything uniform and smooth, but seriously if your door is in good shape and you’re not overly concerned about perfection (I’m not) then don’t bother. After sanding you’ll want to do the damp cloth thing again to get rid of all the dusty stuff.
4) Keep those doors on their hinges!
Makes life so easy.
5) Put a drop cloth or an old beach towel under those doors.
I really am SUCH a lazy DIYer that I didn’t even bother to do this at first. Big mistake. Paint drips, people!
The Brush.
I wanted something that was relatively precise (angled, didn’t leave behind huge brush strokes) but I didn’t want to pay that much. I was very happy with this one!
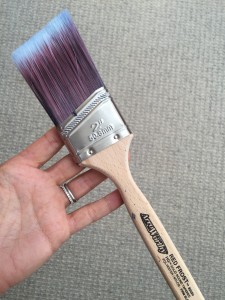
It’s just a standard brush from my local hardware store that costs a few dollars. I recommend looking for an angled brush that is a blend of polyester/nylon, and about 2″ wide. If your door is perfectly flat, then you should probably go with a wide, flat brush or a roller (the angled brush is good for raised panels and detailing).
The Paint.
1) A word on Primer.
Don’t bother with primer! Okay, wait, that’s not true if your door is something other than white. Have a dark wood stained door? A bright yellow or red door? Okay, yes, get some primer and slap one or two coats on there. My door was white so I felt really good about skipping this step. If you are going to prime your door, my favorite is Zinsser Bulls Eye 1-2-3 White Water-Based Primer. It’s great because it’s indoor/outdoor, and it’s made for ANY surface so you can always use it again for some other project.
2) Now for the fun part! What color??
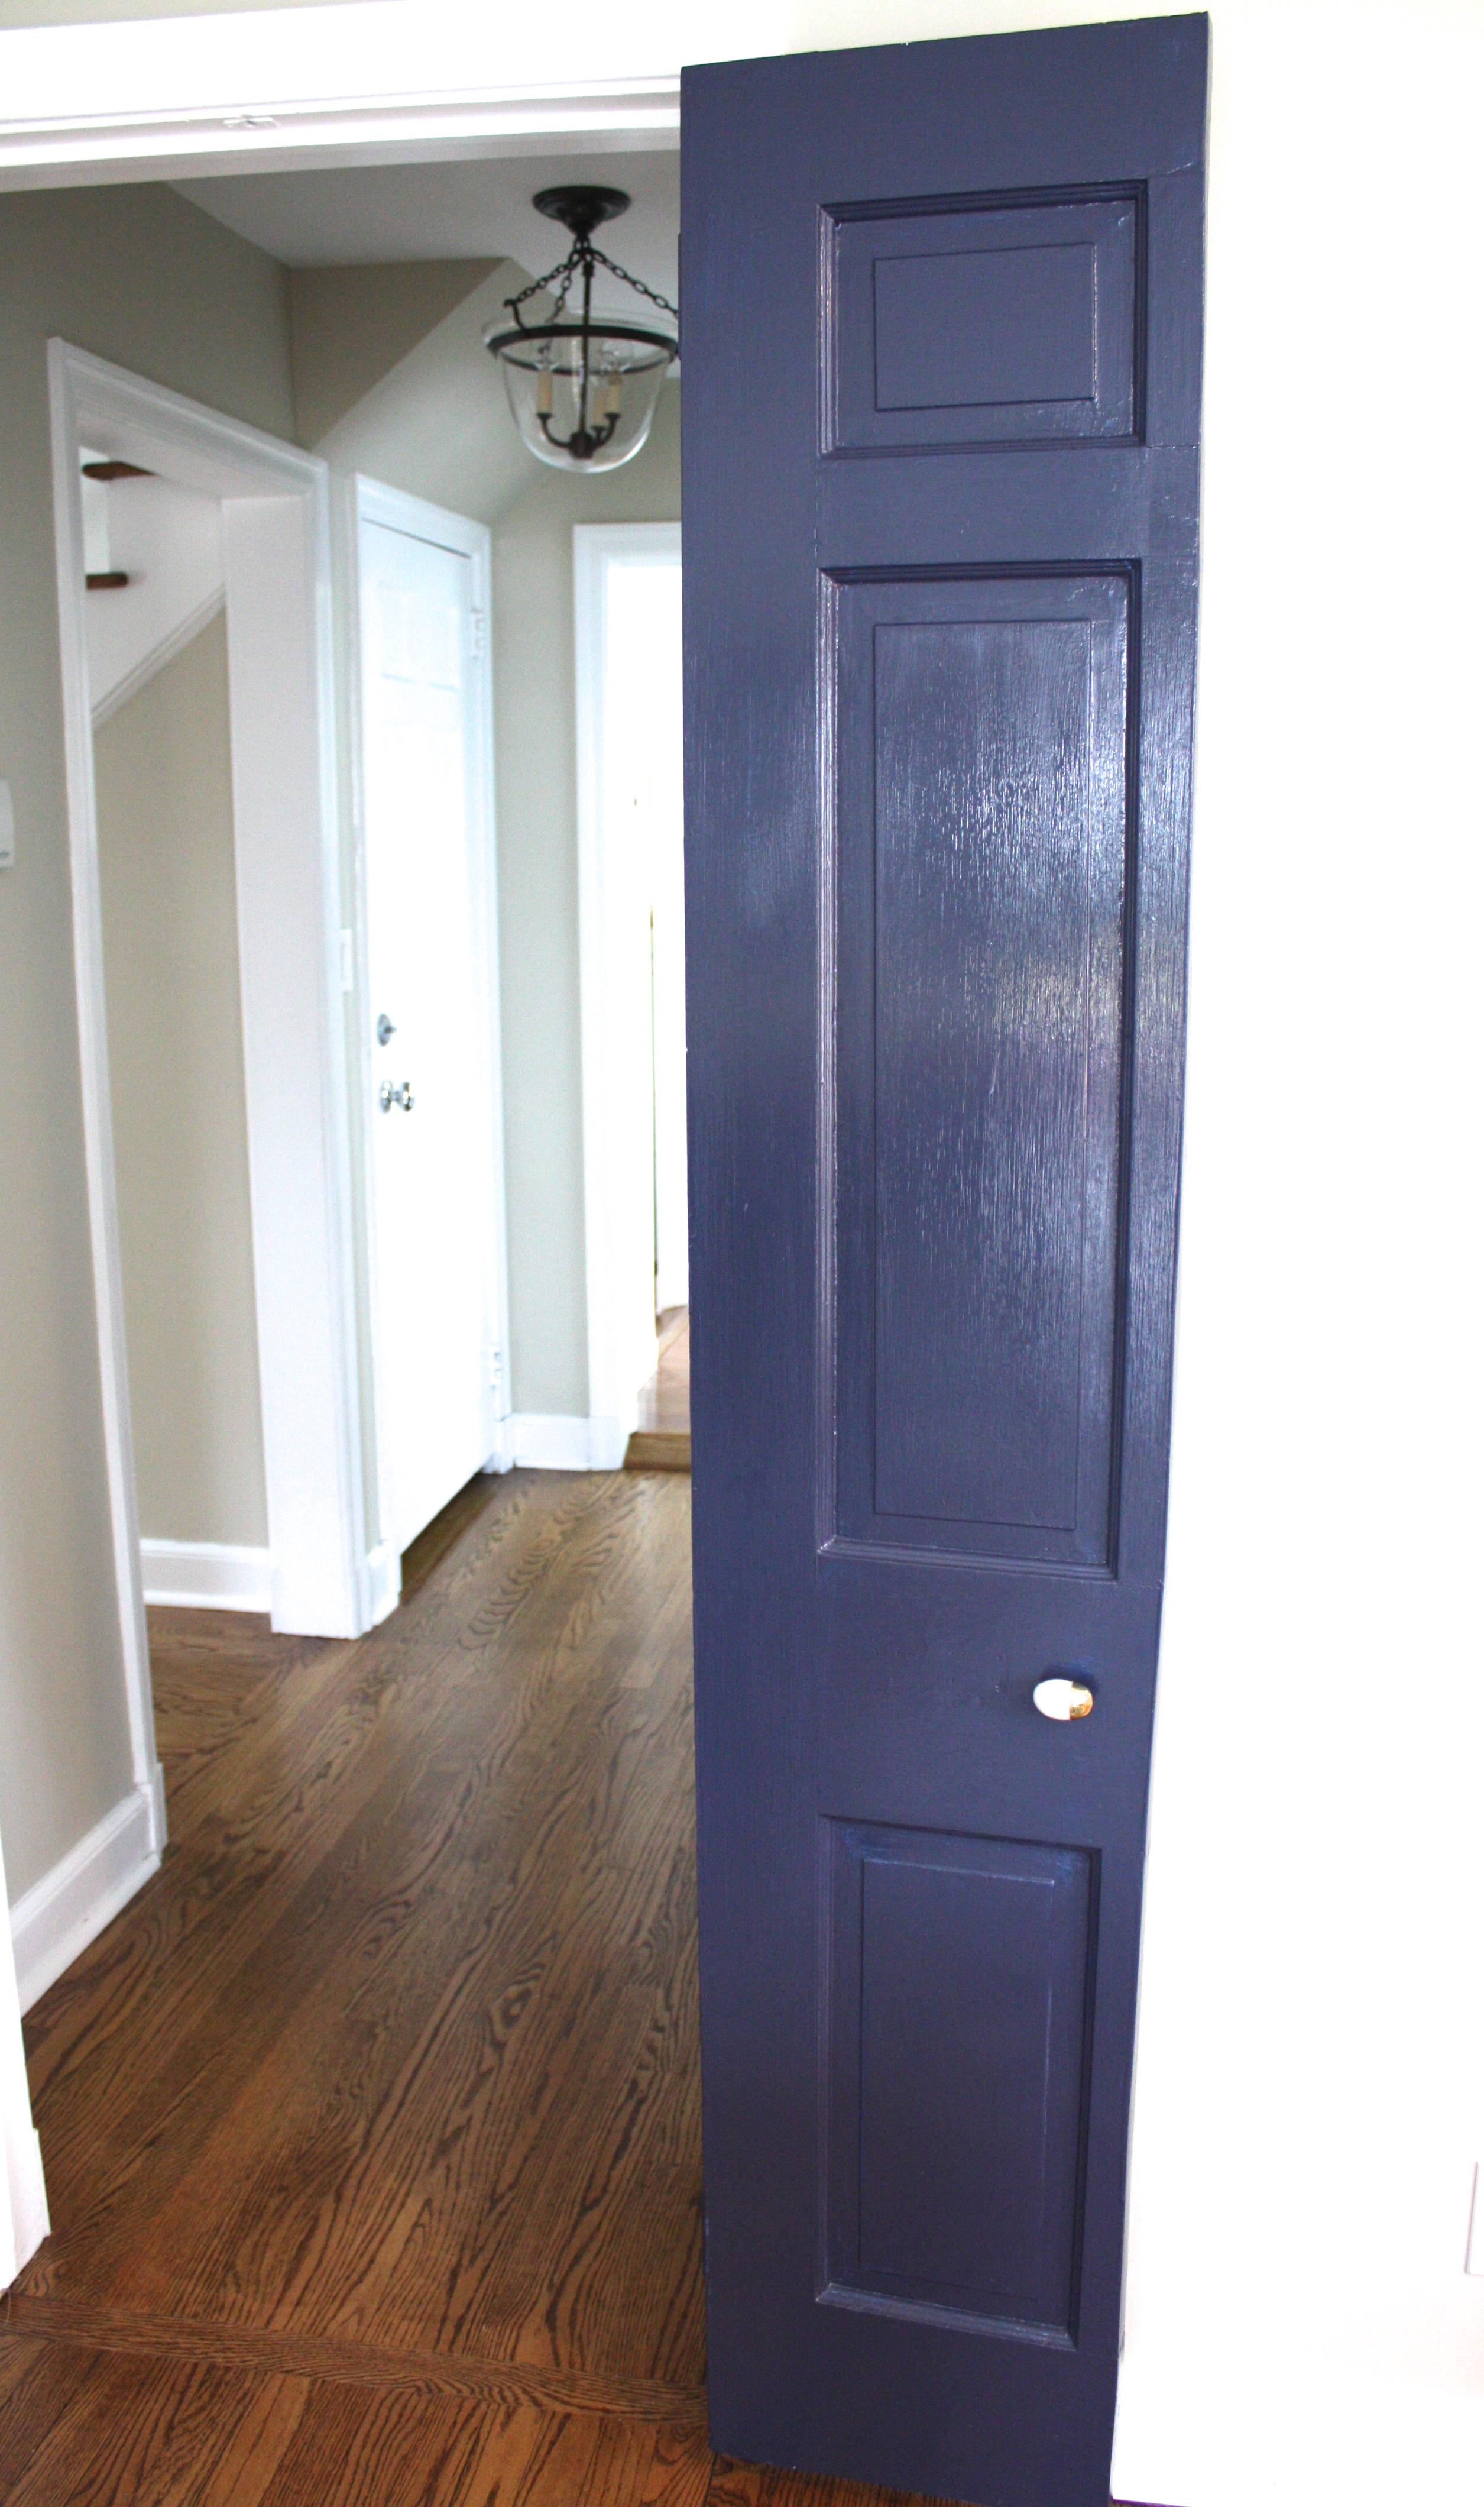
I chose Old Navy from Benjamin Moore.
I was going to go all cutting edge and choose a military blue or a deep purple or something. But who am I kidding? There’s a reason Old Navy is all over Pinterest and on so many decorating blogs. It’s a great color.
My recommendation is to go with a color you love – be creative! It’s just paint. If you really hate it you can do it over. I would love to paint all our bedroom doors a classic black lacquer, or my kitchen door this awesome shade of yellow or this incredible mossy kelly green.
3) But what KIND of paint?
You’ll see my doors are very shiny. To achieve this look, I thought I would have to cover the doors with a clear coat of lacquer after painting, but the local paint store guy encouraged me to just go with Benjamin Moore’s “Advance” line.
So glad I listened to him. The paint is water based, and it’s pretty forgiving so it’s easy for a novice painter like myself to use. It’s also got great coverage and it has this tremendous high gloss finish and a hard lacquer shell when it dries. Perfecto! I recommend it.
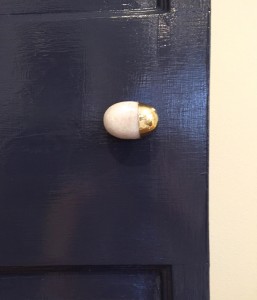
What about Hardware?
I went with these wonderful knobs from Anthropologie. They are stone dipped in a gold paint. I love Anthropologie’s knobs – can’t recommend them highly enough for their character and style.
For other knobby ideas, check out this recent post I wrote on swapping out knobs on your doors and furniture, and where you can find some great resources.
Did I miss anything? Any questions out there? Please comment below or just shoot me an email!
I have more to say about the ACTUAL painting of my doors. Turns out, there is a right way and a wrong way. I learned my lessons, and I write all about it in my second and final installment: Part 2, How to Paint Your Interior Doors…The Easy Way.
~~~~~
In other news…
It’s been an exciting few weeks over here at Return To Home. I’m so happy to announce that my new column with Westchester Home Magazine is live! A few times a month, I’ll be dishing out product tips and ideas, easy DIY projects, and plenty of decorating advice. Please check it out here and let me know what you think!
No Comments